Implement OneSignal Push Notification in Blogger [Non AMP]
Setup and Implement Web Push Notification in Blogger Template using OneSignal SDK. Installing and Add Button and Push Notif for Subscriber in Blogspot box.
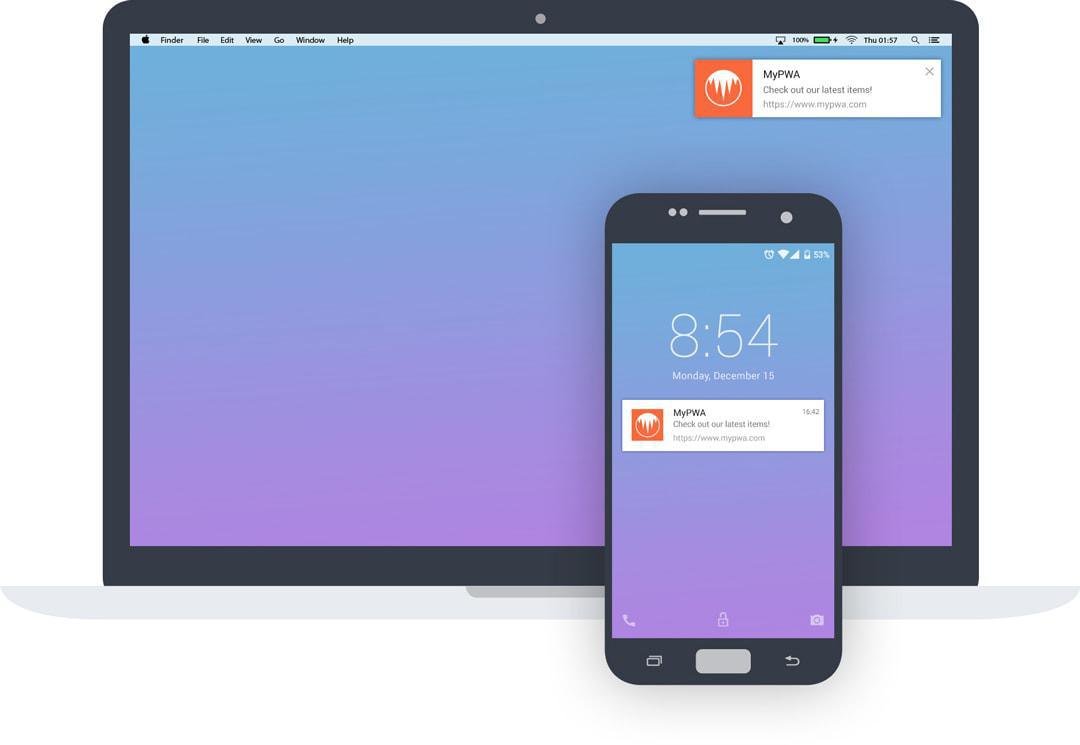
Setup and Implement Web Push Notification in Blogger Template using OneSignal SDK
OneSignal is a third-party application that offers marketing services to website owners, especially mobile push notification, web push notification, and email.Push notification for the web is now very popular to be used by major media on the Internet. There are many advantages for webmasters when using Push notification service. Among them:
- Increase the number of loyal visitors.
- Send the latest updates, such as messages, advertisements or the latest articles.
- Increase website conversion value.
Of the many Push Notification services, OneSignal is one of the most widely used push notification services. For now, they have captured more than 450 thousand websites in the world.
For those of you who are users of the Blogspot / Blogger platform, you can still use the push notification service from Blogger. Previously I also gave an explanation about how to add a web push notification on the Google AMP Blogger page.
And this time, I will explain Tutorial how to Add Web Push Notification on the Blogger Blog.
Create and Configure OneSignal App
To implement AMP Web Push Notification on a website, you are required upload 2 html pages in your website directory, namely amp-helper-frame.html and amp-permission-dialog.html.
If you use a blogger platform such as the blog amp-blogger.com, of course this is impossible. Because Blogger does not provide access to our websites file manager. But there is a solution provided by OneSignal, by utilizing the Label provided by OneSignal.
Register and create an APP on OneSignal. Go to https://onesignal.com, register using your Google account. Then create an App by clicking 'Add a New App'.
Pay attention to the following configuration, read carefully!:
1. Choose Integration: Typical Site
2. Site Setup:
2. Site Setup:
- Site name: Name of website
- Site URL: your site URL, fill with http:// or https:// . I recommend to enable HTTPS: // on your Blogger. Read this article: Enable HTTPS in Blogger.
- Upload site icon: min 80px X 80px
- Active 'my site is not fully https' (required), and fill Label name. Example: amp-google. So the Label address will be like this: amp-google.os.tc.
3. Permission Prompt Setup
- Click Add a Prompt, in prompt type select Slide Prompt and click save.
- Then you will be redirected to the HTTP Pop-Up configuration. Fill in the text to customize the appearance of the text, then click save.
- Add one more prompt by clicking add prompt, then selecting Custom Link. This is useful for creating a subscribe notification button, which I will inject in the article body.
4. Ignore the configuration for tab Welcome Notification and Advanced. Click SAVE.
5. After the configuration process, you will get a script code. Copy that script code.
Add OneSignal Button to Blogger
To add a slide notification, you just need to add the script given by OneSignal, paste it before </ head>. But based on my experience, sometimes the slide sobriquet button doesn't appear on blogger.Finally I also have to manually put the Subscribe OneSignal Button using Custom Link Prompt.
Please go to the Blogger dashboard, click Themes then click Edit HTML. Then search for </ head> and paste the OneSignal script code that was already obtained from your OneSignal APP. Examples like the one below:
<script src="https://cdn.onesignal.com/sdks/OneSignalSDK.js" async="async"></script>


<script>


  var OneSignal = window.OneSignal || [];


  OneSignal.push(function() {


    OneSignal.init({


      appId: "a9416835-bc53-47db-a413-821b7c8xxxx",


    });


  });


</script>
Change the yellow mark with your OneSignal APP ID.
Then find the <data: post.body /> code, if there are more than 1, please search for the last one. Then copy and paste the code just below it.
<div class='onesignal-customlink-container'/>
Please SAVE changes to your template. Demo for the subscribe button, please see the red button at the end of this article.
To preview onesignal push notification, try doing it in Incognito mode in Chrome or FireFox.
Good luck, and discuss in the comments column :)
To preview onesignal push notification, try doing it in Incognito mode in Chrome or FireFox.
Good luck, and discuss in the comments column :)